Ever spent 45 minutes trying to attach a fingertip veil only to have it slide off, snag your hair, or—worst of all—get tangled in your bouquet? You’re not alone. As someone who’s styled over 200 brides (yes, I counted), I once watched a $300 handmade fingertip veil end up crumpled under a church pew because the comb was glued on with what I can only assume was kindergarten craft glue.
If you’re choosing or wearing a fingertip veil for your wedding day—or advising someone who is—you need more than Pinterest inspiration. You need precision, perspective, and a little tough love about tulle myths. In this guide, you’ll learn exactly what a fingertip veil is, how to pick the right one for your dress and hairstyle, pro styling tips that prevent last-minute panic, and real examples from actual weddings—not stock photos.
Table of Contents
- What Is a Fingertip Veil—and Why Does Length Matter?
- How to Choose & Secure Your Fingertip Veil Like a Pro
- 7 Best Practices for Flawless Fingertip Veil Styling
- Real Wedding Wins (and One Epic Fail)
- Fingertip Veil FAQs—Answered Honestly
Key Takeaways
- A fingertip veil measures 30–36 inches and ends at or just below the fingertips when arms are relaxed at your sides.
- It’s ideal for A-line, sheath, and tea-length dresses—but can clash with overly ornate gowns if not balanced properly.
- Secure it with reinforced combs or loops + bobby pins; never rely on flimsy plastic teeth.
- Always do a full walk-through (sitting, standing, turning) during your hair trial—with the veil on.
- Fingertip veils photograph beautifully but require intentional positioning during portraits.
What Is a Fingertip Veil—and Why Does Length Matter?
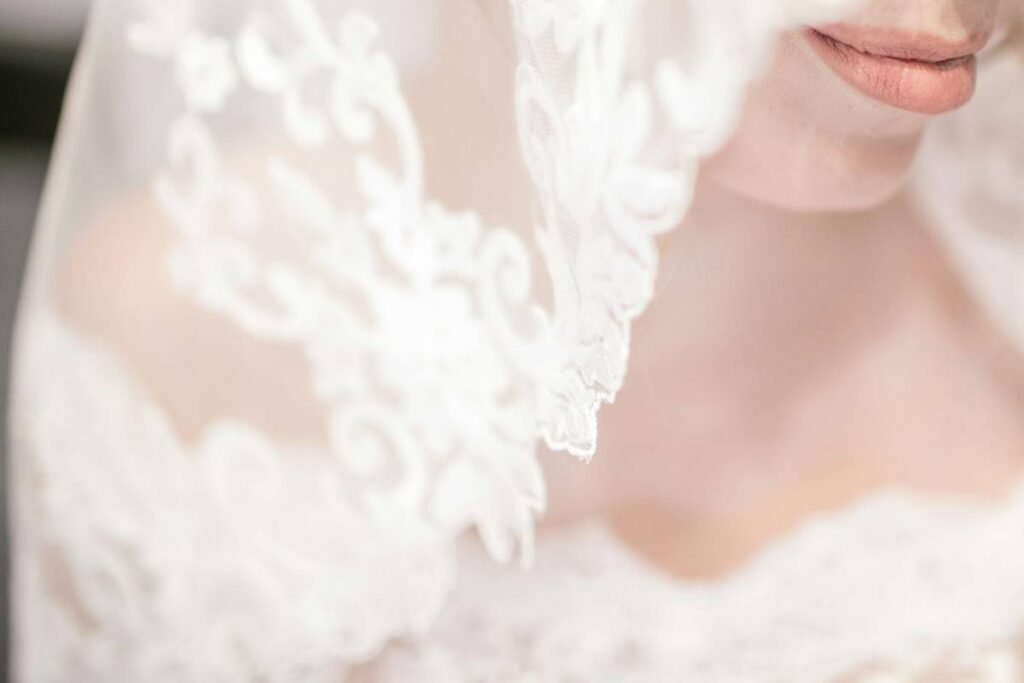
In bridal hair accessories, “fingertip” isn’t poetic—it’s literal. A fingertip veil extends approximately 30 to 36 inches from the crown of your head and should graze the tips of your fingers when your arms hang naturally. According to The Knot’s 2023 Bridal Trends Report, 38% of modern brides chose veils between elbow and fingertip length, citing versatility and ease of movement as top reasons.
Why does this specific length matter? Because unlike cathedral (108″+) or chapel (90″) veils that command space, fingertip veils offer elegance without overwhelming the silhouette. They complement minimalist gowns, retro styles, and even boho looks—but they demand intentionality. Get the length wrong by two inches, and you go from “effortlessly chic” to “did I spill something on my skirt?”
As a stylist, I’ve seen brides tear up when their “fingertip” veil arrived at hip-length. Lesson learned: Always confirm measurements *from the attachment point*, not just the total fabric length. And never assume “standard” means your standard.
How to Choose & Secure Your Fingertip Veil Like a Pro
Step 1: Match It to Your Dress Silhouette
Optimist You: “This lace-edge fingertip veil will be perfect!”
Grumpy You: “Only if your dress isn’t already covered in appliqués the size of dinner plates.”
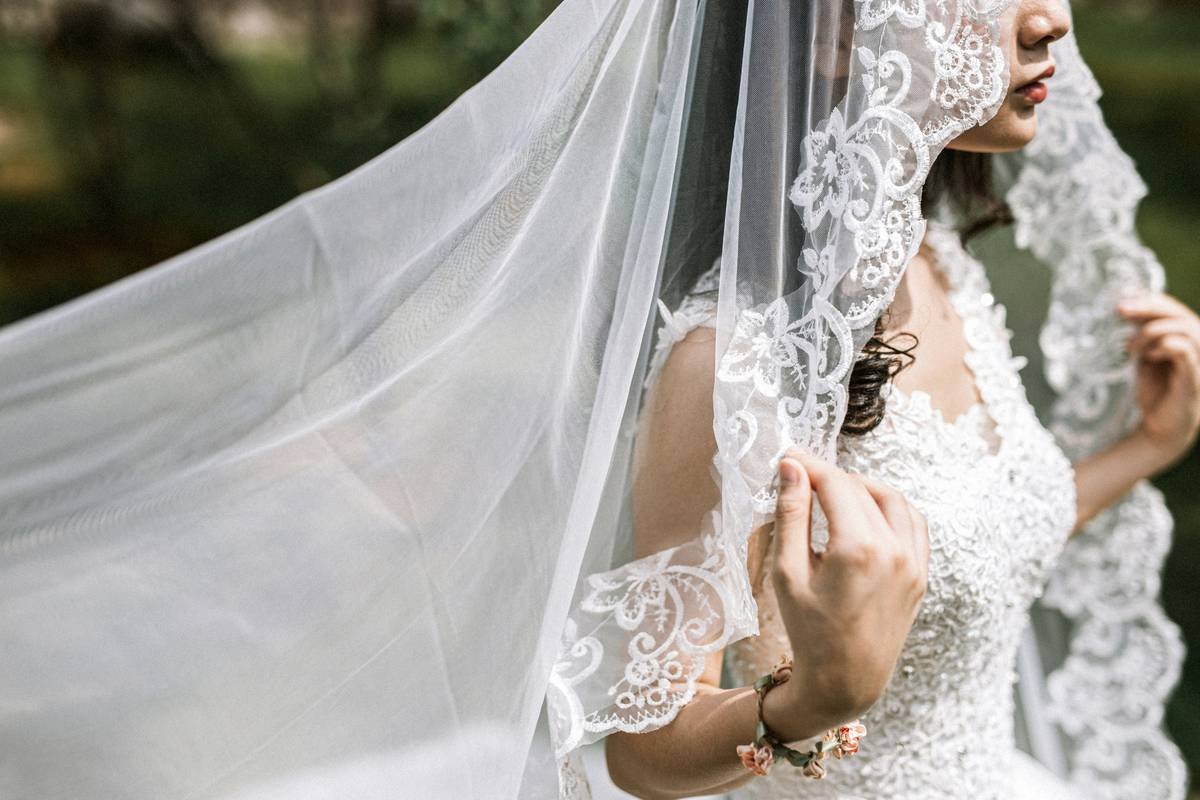
Rule of thumb: If your gown has heavy embellishment below the waist, keep the veil simple—single-layer tulle, no trim. For sleek satin or crepe dresses? Add texture: blusher layer, scattered crystals, or horsehair edge for structure (yes, real horsehair—it’s traditional and helps the veil hold shape).
Step 2: Test the Attachment Mechanism
I once used a veil with a wobbly metal comb that slipped during vows. My fix? Sew-on loops + crossed bobby pins anchored into a low bun. Pro move: Use clear elastic thread to stitch the veil base directly to your updo’s foundation (ask your stylist—they’ll know).
Step 3: Do a Full Movement Trial
Walk. Sit. Hug your mom. Reach for champagne. If your veil flips forward like a startled cat every time you bend over, it’s too short or improperly weighted. Ideal fingertip veils stay put through natural motion—thanks to balanced gathers at the comb.
7 Best Practices for Flawless Fingertip Veil Styling
- Avoid double layers unless your dress is ultra-minimal. Two tiers add bulk that fights against the veil’s delicate intent.
- Choose tulle type wisely: Silk illusion = soft drape; polyester = crisp volume. For humidity-prone weddings, silk tulle frizzes faster—polyester holds form.
- Color-match to your dress—not your skin. Ivory veils on white gowns look dingy; pure white veils on ivory gowns appear harsh.
- Trim width to complement shoulder span. Narrow frames suit 72″ wide veils; broader shoulders can carry 108″.
- Never skip the veil rehearsal. Practice removing it post-ceremony gracefully—without yanking out half your updo.
- Use anti-static spray sparingly. Too much = sticky tulle that clings like Saran Wrap. Light mist only.
- Store flat before the wedding. Hanging causes creases that won’t drop out—even with steam.
Real Wedding Wins (and One Epic Fail)
Case Study: Maya’s Downtown Loft Wedding
Dress: Sleek crepe column by Made With Love
Veil: 34″ single-layer silk tulle, raw edge
Result: The veil added subtle drama without competing with her architectural neckline. Her hairstylist secured it with U-pins through a low chignon—zero adjustments needed all day. Bonus: It framed her hands perfectly during ring shots.
The Fail: Olivia’s Garden Ceremony Disaster
Veil: “Fingertip” from fast-fashion bridal site (actual length: 26″)
Issue: Veil ended mid-thigh, constantly riding up as she walked. Worse, the plastic comb snapped during photos. Fix? She repurposed it as a hair wrap for the reception. Moral: Measure twice, order once.
Fingertip Veil FAQs—Answered Honestly
Can I wear a fingertip veil with short hair?
Yes—if you secure it properly. Use a wide-tooth comb anchored near the occipital bone (base of skull), not the crown. Pair with faux buns or volume pieces if needed. I’ve styled pixie cuts with fingertip veils using hidden wire frames. Works like magic.
Is a fingertip veil appropriate for a formal wedding?
Absolutely. Formality comes from fabric and finish—not just length. A fingertip veil in duchesse satin or with crystal edging reads far more formal than a cathedral-length polyester version. Context is king.
How do I keep it from blowing away outdoors?
Weight matters. Opt for tulle with a slight denser weave (look for “120 denier” or higher). Avoid ultra-light illusion tulle for beach or windy venues. And always bring backup bobby pins—clear ones melt into any hair color.
Can I DIY a fingertip veil?
Only if you’ve worked with tulle before. Cutting curves requires rotary cutters and weights—scissors cause snags. And gathering evenly? That’s a skill. Save DIY for hairpins, not your main veil.
Conclusion
A fingertip veil isn’t just a piece of fabric—it’s a statement of refined confidence. When chosen and worn with care, it enhances your posture, complements your gown, and photographs with timeless grace. But get it wrong, and you’re fighting tangles and tripping hazards all day.
Remember: Measure from your crown to your fingertips (arms relaxed!). Prioritize attachment security over decoration. And never—ever—trust a comb that feels flimsy between your fingers. Your wedding day deserves intention, not improvisation.
Now go forth, veil warrior. May your tulle flow softly, your comb hold firm, and your photos look like Renaissance paintings (but with better lighting).
Like a Tamagotchi, your fingertip veil needs daily checks before the big day—or it might just ghost you at the altar.
Haiku:
Tulle kisses fingers,
Breeze lifts silk—no frantic grab.
You breathe. It stays put.